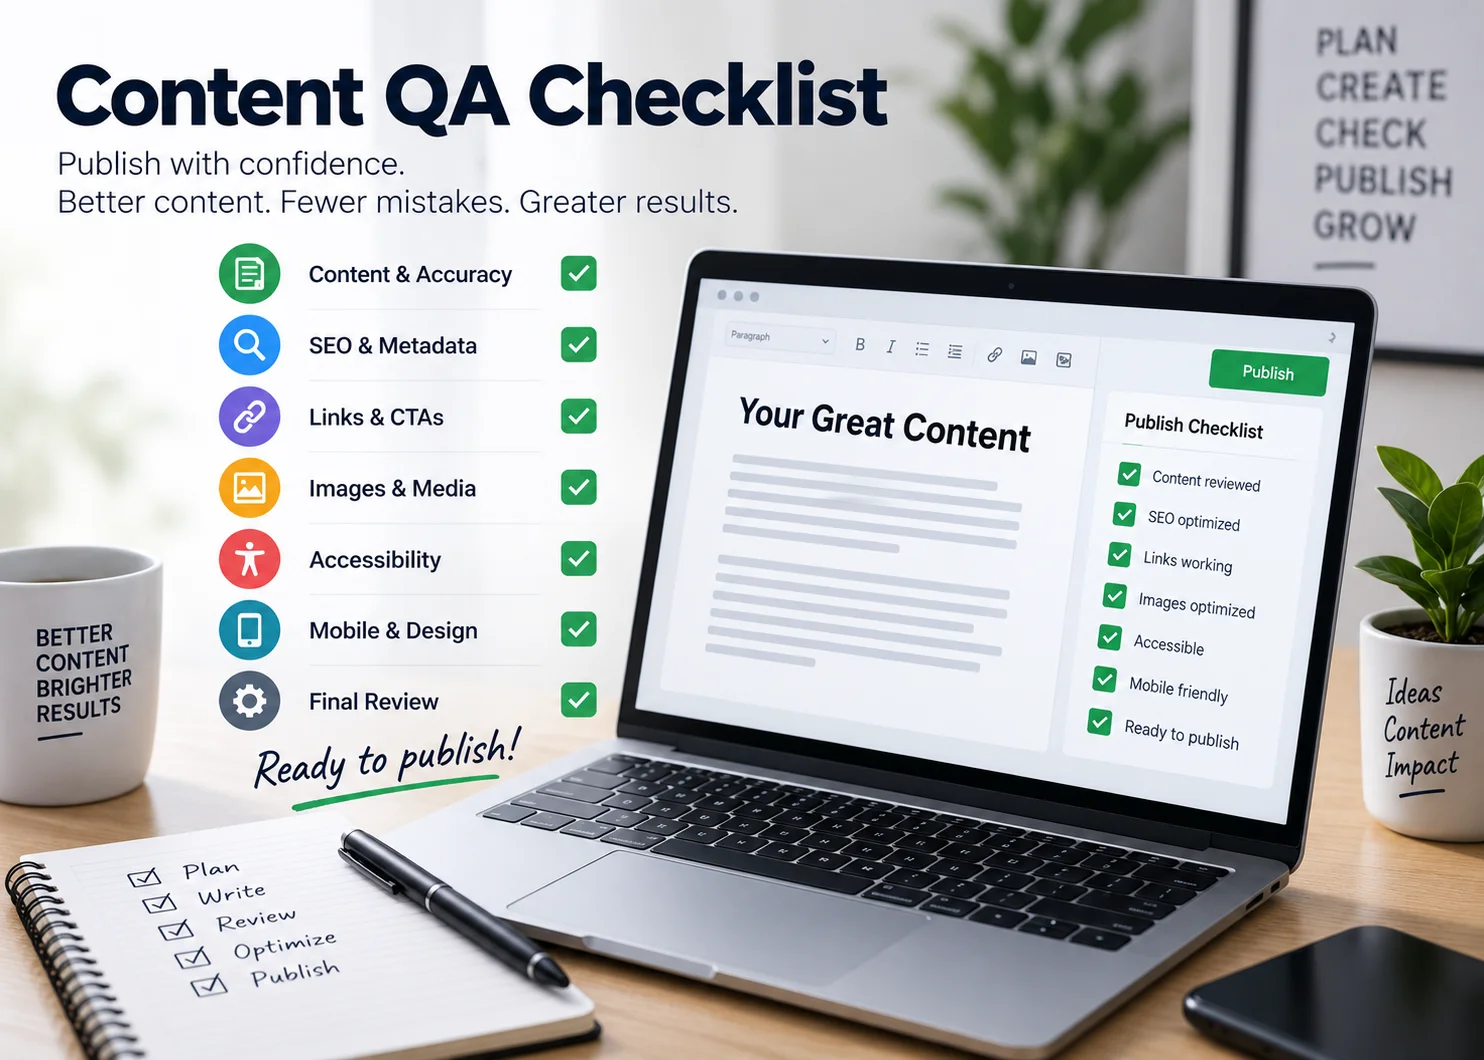
A strong content QA checklist helps catch problems before they reach your audience.
A page can be well written and still fail after publication because the metadata is missing, a link is broken, an image is oversized, a CTA points to the wrong destination, the mobile layout breaks, or a draft note is still sitting in the copy.
Content quality assurance is the final layer between a finished draft and a reliable live page. It brings together editorial review, SEO checks, accessibility, formatting, links, media, CMS implementation, and live-page verification.
This checklist is designed for blog posts, landing pages, product pages, collection pages, service pages, and other website content published through WordPress, Shopify, Webflow, or a similar CMS.
What Is Content QA?
Content QA, or content quality assurance, is a structured review process used to confirm that digital content is accurate, consistent, usable, accessible, optimized, and correctly implemented before it is considered complete.
It is broader than proofreading.
Proofreading focuses mainly on spelling, grammar, and language. Content QA also checks:
- content accuracy
- page structure
- SEO metadata
- internal and external links
- images and alt text
- accessibility
- mobile presentation
- CMS formatting
- buttons and forms
- the final live page
Siteimprove’s content quality assurance framework similarly recommends defining quality standards, using a repeatable checklist, and assigning clear responsibility for review.
Content QA Checklist Before Publishing
Content Accuracy and Editorial QA
1. Verify Facts, Dates, Names, and Claims
Check every factual statement that could be wrong, outdated, or misrepresented.
Review:
- people and company names
- dates
- statistics
- product details
- technical information
- pricing references
- quotes
- legal or compliance claims
Use primary or authoritative sources whenever possible.
A polished article with one incorrect number or outdated claim can damage trust more than a minor grammar error.
2. Check Spelling, Grammar, and Punctuation
Run an automated spelling and grammar check, but do not rely on tools alone.
Read the final version manually for:
- missing words
- duplicated phrases
- awkward sentences
- incorrect punctuation
- inconsistent spelling
Manual review matters because automated tools often miss errors that are technically grammatical but wrong in context.
3. Confirm Brand Voice and Terminology
Check whether the page sounds like the rest of the site.
Look for inconsistent:
- capitalization
- product terminology
- service names
- tone
- abbreviations
- US vs. Canadian or UK spelling conventions
Consistency becomes especially important when content comes from multiple writers or AI-assisted workflows.
4. Remove Placeholder Text and Draft Notes
Before publishing, search for unfinished content such as:
Lorem ipsumTODO[insert link][add image]- editor comments
- draft headings
- internal notes
This sounds basic, but placeholder content is a common publishing mistake when teams move quickly.
Content Structure and Formatting QA
5. Confirm One Clear H1
The page should have one clear primary heading that matches its main topic.
In WordPress, the post title normally serves as the H1, so avoid adding another H1 inside the article body.
6. Check H2 and H3 Hierarchy
Headings should reflect content structure rather than visual preference.
A logical pattern looks like:
H1 → H2 → H3
Avoid unnecessary jumps such as:
H2 → H4
Also make sure headings accurately describe the section underneath them.
7. Break Up Long Paragraphs
Large blocks of text can make even useful content difficult to read, especially on mobile.
Use:
- shorter paragraphs
- subheadings
- bullet points
- numbered steps
- tables where appropriate
Formatting should help the reader move through the content naturally.
8. Check Lists, Tables, and Callouts
Review every list and structured element after implementation.
Make sure:
- bullets render consistently
- numbered steps remain in the correct order
- tables fit on mobile screens
- callout boxes do not break the layout
- icons and labels align properly
9. Review Bold, Italic, and Other Emphasis
Formatting should improve readability, not create visual noise.
Use emphasis sparingly for:
- important terms
- key takeaways
- labels
- short CTAs
A page where every other sentence is bold becomes harder to scan.
SEO QA
10. Verify the Primary Keyword and Search Intent
Compare the finished page with the original search intent.
Ask:
- Does the page still answer the intended query?
- Did the article drift into a broader topic?
- Is the primary keyword represented naturally?
- Does the page type match what users expect?
A technically optimized page can still underperform if it answers the wrong intent.
11. Review the SEO Title
Check that the SEO title:
- accurately describes the page
- includes the primary keyword naturally
- is concise
- is distinct from other site titles
- encourages the right person to click
Do not stuff multiple keyword variations into the title.
12. Review the Meta Description
The meta description should summarize the page clearly and include the main keyword where natural.
Check for:
- duplicate descriptions
- generic wording
- unfinished text
- irrelevant CTAs
It should make sense even when read without the rest of the page.
13. Check the URL Slug
The slug should be:
- short
- descriptive
- easy to read
- free from unnecessary dates or filler words
Avoid changing established URLs casually after publication.
14. Verify Heading Relevance
Review the H2 and H3 structure from an SEO perspective.
Headings should cover the major questions or subtopics a searcher expects while helping the reader move through the page.
If the headings look optimized but the sections underneath are thin, expand the useful content rather than adding more keyword-heavy headings.
15. Check Internal Links
Internal links should support both navigation and site structure.
Review whether the page includes links to relevant:
- service pages
- supporting guides
- related articles
- commercial pages
Use descriptive anchor text and follow internal linking best practices.
Also plan links into the new page from older relevant content. A newly published article should not sit with zero incoming internal links.
Link and CTA QA
16. Click Every Internal Link
Do not assume a link works because the URL looks correct.
Click it.
Check for:
- 404 errors
- unnecessary redirects
- wrong pages
- staging domains
- typos
- incorrect anchor destinations
If you publish on Shopify, also verify that links follow your intended Shopify internal linking structure.
17. Test External Links
External references should still work and support the claim they are attached to.
Prefer primary sources where possible.
Check that the link:
- opens the intended page
- is still current
- supports the surrounding statement
- does not accidentally send users to an unrelated competitor page
18. Test Every CTA
CTAs are one of the most important elements to verify because they connect content to business outcomes.
Check:
- buttons
- contact links
- form links
- email links
- phone links
- download links
Make sure the anchor text matches the destination.
If the page is intended to generate inquiries, verify the full path to the contact page rather than assuming the CTA works.
Image and Media QA
19. Check Image File Size and Format
Images should be large enough to look sharp but not so large that they add unnecessary page weight.
Review:
- dimensions
- compression
- file format
- visual quality
- mobile rendering
Where appropriate, use modern formats such as WebP.
For the broader process, see the NextWebOps guide to image SEO.
20. Verify Image Alt Text
Meaningful images should have descriptive alt text that explains what the image contains without keyword stuffing.
Avoid:
- blank alt text on important images
- generic descriptions
- duplicating the same alt text everywhere
- using filenames as alt text
Decorative images may appropriately use empty alt text depending on context.
21. Check Image Placement
Images should support the section where they appear.
Make sure:
- the image is near the related text
- it does not interrupt the reading flow
- captions are used when necessary
- the image is not stretched or cropped badly
22. Confirm Media Credits or Captions Where Needed
If an image, chart, or media asset requires attribution, verify that the credit is accurate and visible.
Do not add unnecessary captions to decorative images simply because a caption field exists.
Accessibility QA
23. Review Alt Text and Decorative Images
Accessibility QA should confirm that useful images have meaningful descriptions and purely decorative visuals do not create unnecessary noise for screen-reader users.
The State of Colorado’s accessible online content checklist provides a useful reference for reviewing web content accessibility.
24. Check Link Text
Link text should explain where the link goes.
Avoid vague anchors such as:
- click here
- read more
- this page
when a more descriptive option is available.
25. Review Readability, Contrast, and Mobile Presentation
Check whether users can comfortably read and interact with the page.
Review:
- font size
- text contrast
- button contrast
- spacing
- line length
- mobile layout
- overlapping elements
A page that looks fine in the CMS editor may still render poorly on a phone.
Live-Page QA After Publishing
Publishing is not the end of the QA process.
The live page should always be checked because previews do not perfectly reproduce the final environment.
After publishing, review:
- page title
- heading hierarchy
- paragraph spacing
- images
- internal links
- external links
- buttons
- forms
- mobile layout
- SEO title and meta description
- canonical URL
- schema where relevant
- indexability
Also confirm that no staging or noindex settings carried over accidentally.
If your team has content ready but needs reliable implementation and final verification, get help with content publishing QA.
Content QA Checklist for WordPress, Shopify, and Webflow
WordPress Content QA
For WordPress posts and pages, verify:
- post title and H1 behavior
- category
- tags
- featured image
- SEO plugin fields
- internal links
- image alt text
- front-end formatting
If using Rank Math, confirm the focus keyword, SEO title, slug, meta description, schema type, and category are all correct before publishing.
Shopify Content QA
For Shopify, review:
- product or collection content
- blog formatting
- product media
- SEO listing fields
- internal links
- variants
- buttons
- live storefront presentation
Always test the actual customer-facing page.
Webflow Content QA
For Webflow CMS content, verify:
- CMS fields
- meta title
- meta description
- image alt text
- collection template rendering
- responsive behavior
- links
- buttons and forms
Template-driven websites require extra care because one CMS field can affect multiple pages.
Content QA Checklist Template
Use this simplified structure for a repeatable review process.
| Check | Status | Notes | Owner |
|---|---|---|---|
| Facts and claims verified | Pending / Done | Source notes | Editor |
| Spelling and grammar reviewed | Pending / Done | Corrections | Editor |
| SEO title and meta checked | Pending / Done | Keyword / length | SEO |
| Internal links tested | Pending / Done | Fixes needed | Publisher |
| External links tested | Pending / Done | Source validation | Publisher |
| Images optimized | Pending / Done | Size / format | Publisher |
| Alt text reviewed | Pending / Done | Accessibility | Publisher |
| Mobile layout checked | Pending / Done | Issues | QA |
| Live page reviewed | Pending / Done | Final fixes | QA |
A checklist does not need to be complicated. It needs to be consistent enough that important checks are not skipped when deadlines are tight.
Common Content QA Mistakes
- Relying only on spellcheck: Content QA includes implementation, SEO, links, and usability.
- Checking only the draft: The live page can introduce new problems.
- Ignoring mobile: Desktop preview alone is not enough.
- Forgetting incoming internal links: New pages need links from older relevant content.
- Publishing incorrect metadata: Draft titles and descriptions often survive into production.
- Skipping CTA testing: A broken inquiry path directly affects conversions.
- Uploading oversized images: Image quality should not come at the cost of unnecessary page weight.
- Using duplicated alt text: Different meaningful images should be described accurately.
- Leaving placeholder content: Draft notes are easy to miss during rushed launches.
- Linking to staging URLs: Always check the domain in final internal links.
- Skipping source verification: Outdated facts reduce trust.
- Assuming preview equals production: Always verify the live page.
How to Build a Repeatable Content QA Workflow
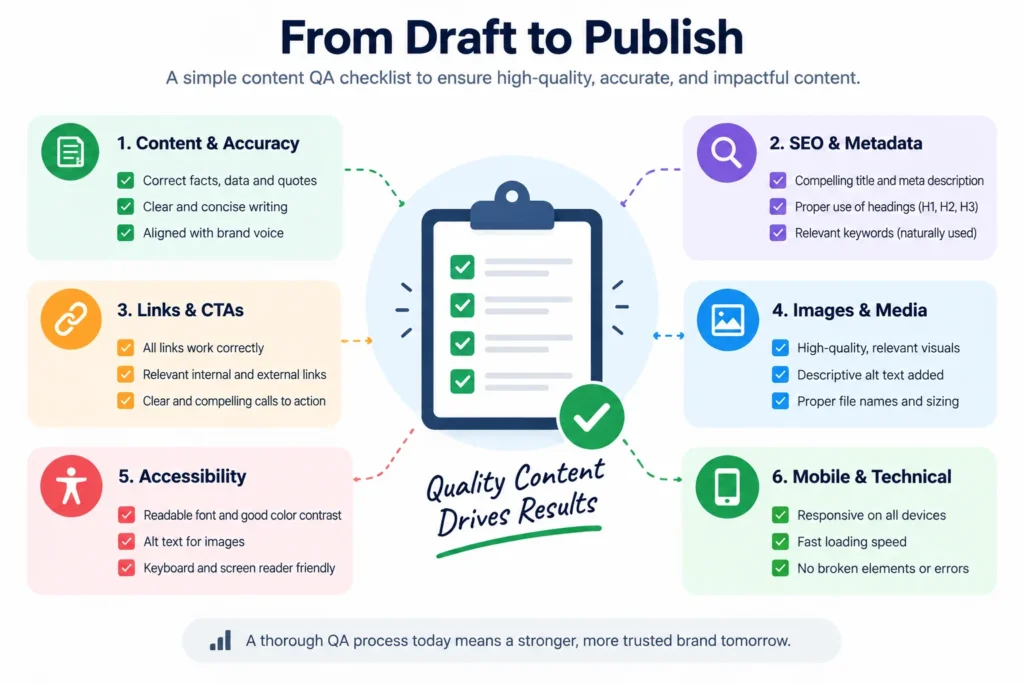
A reliable publishing process can follow this sequence:
Draft → Editorial QA → SEO QA → CMS Implementation → Pre-Publish QA → Publish → Live QA → Indexing
Draft
Complete the copy and gather approved media.
Editorial QA
Check facts, spelling, grammar, tone, and structure.
SEO QA
Review search intent, title, meta description, headings, URL, and internal links.
CMS Implementation
Add the content to WordPress, Shopify, Webflow, or the target CMS with correct formatting.
Pre-Publish QA
Test links, images, CTAs, mobile preview, accessibility, and CMS fields.
Publish
Make the page live.
Live QA
Check the actual URL in desktop and mobile layouts.
Indexing
Confirm the URL is indexable, included in the sitemap where appropriate, and available for submission through Google Search Console.
When to Use a Content QA Checklist
A structured checklist is useful for almost any web publishing task, including:
- blog posts
- landing pages
- service pages
- Shopify products
- Shopify collections
- WordPress posts
- Webflow CMS pages
- content migrations
- website redesigns
- large content imports
The more content a team publishes, the more valuable a repeatable QA process becomes.
Final Thoughts on Content QA
Content QA is not just proofreading before someone presses Publish.
It is the final operational layer that makes sure the page is accurate, optimized, usable, accessible, functional, and correctly implemented.
The strongest process checks both the CMS and the live page.
That means reviewing copy, SEO, links, images, accessibility, formatting, mobile behavior, CTAs, and indexing as part of one repeatable workflow.
NextWebOps helps businesses and agencies with content implementation, WordPress publishing, Shopify publishing, Webflow publishing, metadata, image optimization, internal linking, content migration, and final publishing QA.
Contact NextWebOps about your content publishing process.
Frequently Asked Questions
What is a content QA checklist?
A content QA checklist is a repeatable list of checks used to review content accuracy, structure, SEO, links, images, accessibility, formatting, functionality, and live-page implementation before content is considered complete.
What does content QA mean?
Content QA means content quality assurance. It is the process of reviewing both the content itself and how it has been implemented on the website.
What should be checked before publishing content?
Check facts, grammar, headings, metadata, URL, links, images, alt text, formatting, CTAs, accessibility, mobile presentation, and CMS settings before publishing.
How is content QA different from proofreading?
Proofreading mainly checks language. Content QA also reviews SEO, functionality, links, images, accessibility, CMS implementation, and the live page.
What should an SEO QA checklist include?
An SEO QA checklist should include search intent, primary keyword use, SEO title, meta description, URL, headings, internal links, image optimization, indexability, canonical tags, and structured data where relevant.
Should content QA happen before or after publishing?
Both. Pre-publish QA catches problems before launch, while live-page QA verifies that the final page renders and functions correctly in production.
How do you QA website content?
Review the copy, SEO fields, links, images, accessibility, responsive layout, buttons, forms, CMS fields, and the final live page using a standardized checklist.
What should be checked after publishing a blog post?
Check the live URL, headings, spacing, images, links, CTAs, mobile layout, metadata, indexability, sitemap inclusion, and any planned incoming internal links.
Who should own content QA?
Ownership depends on the team. Editorial, SEO, publishing, and QA responsibilities can be split across different people, but one person should be responsible for confirming the final checklist is complete.
Can content QA be automated?
Some checks can be automated, such as spelling, broken-link detection, metadata validation, and accessibility scanning. Manual review is still needed for factual accuracy, brand voice, context, layout quality, and conversion paths.
Leave a Reply